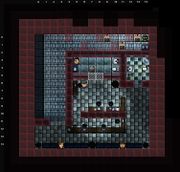
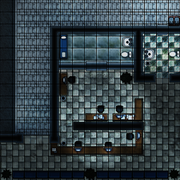
You arrive at the station after deciding to meet up with Rahpaz, the Officer you saved from the Assassin Lisha back in the alleys of Sector 3.
You head into the Station and spot Rahpaz outside a cell inspecting a red vial similar to the one you were injected with by the Slum Thugs back in Sector 3. You talk to him and he mentions the substance is unlike anything he's ever seen. Every attempt he has made to get lab reports on the substance was blocked, and the Thug in the cell wont talk. Rahpaz submitted a report on almost everything that happened in Sector 3, but kept the Assassin Lisha off the records. As he continues to talk, a faint ticking is heard. Moments later, the cell behind him explodes; blasting the cell bars and Rahpaz away. With Rahpaz lying unconscious on a table after the explosion - you begin to look around again.
You run into several Masked Thugs that seem to have invaded the station, defeating them 1 by 1 as you clear out the building. At the entrance, you run into the Chief Thug who informs you that they have already 'taken it back'. You defeat him and find an Expired Card on him.
Rahpaz is still injured from the explosion, so you decide to investigate this on your own...
(Optional route version)
You arrive at the station after deciding to meet up with Rahpaz, the Officer you saved from the Assassin Lisha back in the alleys of Sector 3.
You head into the station, but stop to use the restroom before speaking with Rahpaz. While in the restroom, you hear some whispers through the vents. Curious about the whispering, you leave the Station and check out back.
While checking around the station, you come across some Slum Thugs hiding out back having a meeting with a Messenger. You defeat the Thugs, but the Messenger manages to escape; but not before you notice the letter X engraved on his backplate.
Worried about what you saw, you rush to find Rahpaz and tell him what you found. While heading back into the station, you hear faint ticking nearby. You find Rahpaz outside a cell inspecting a red vial similar to the one you were injected with by the Slum Thugs back in Sector 3, but as soon as you try to talk to him...the cell behind him explodes; blasting the cell bars and Rahpaz away. With Rahpaz lying unconscious on a table after the explosion - you begin to look around again.
You run into several Masked Thugs that seem to have invaded the station, defeating them 1 by 1 as you clear out the building. At the entrance, you run into the Chief Thug who informs you that they have already 'taken it back'. You defeat him and find an Expired Card on him.
Rahpaz is still injured from the explosion, so you decide to investigate this on your own...
| 


